UPDATED 06-2021
Constructed by:
17th Armored Engineer Battalion, E Company, 82nd Engineer Combat Battalion of the 1115th Engineer Combat Group
Date:
14-15 Sept 1944
Build in time:
2 days
Place:
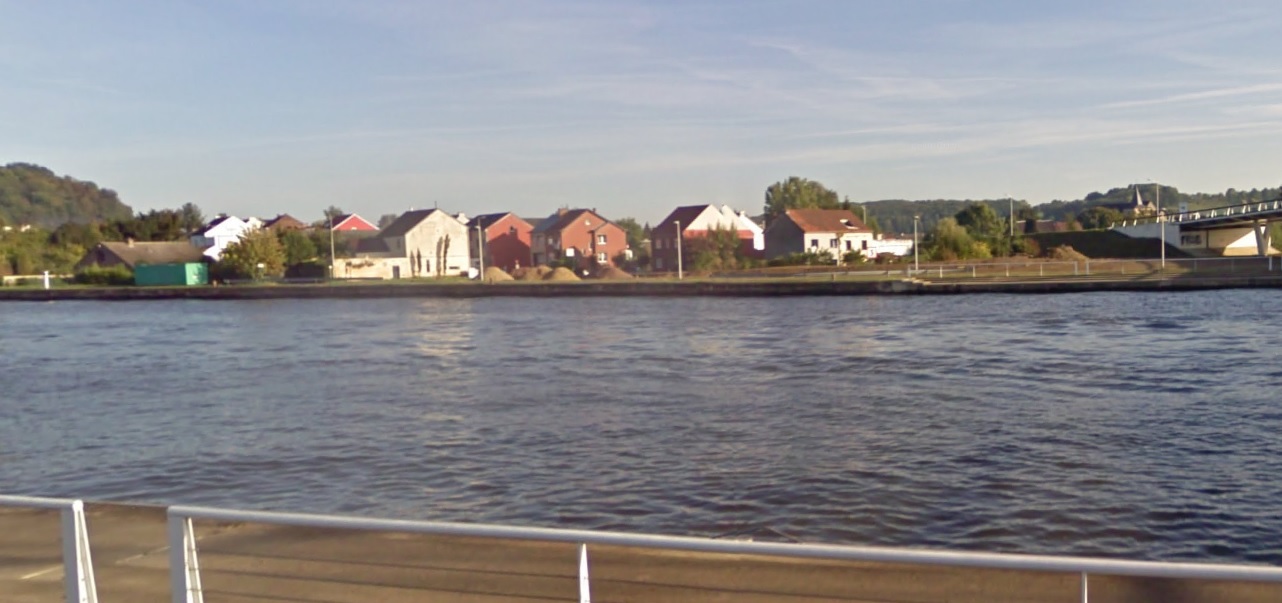
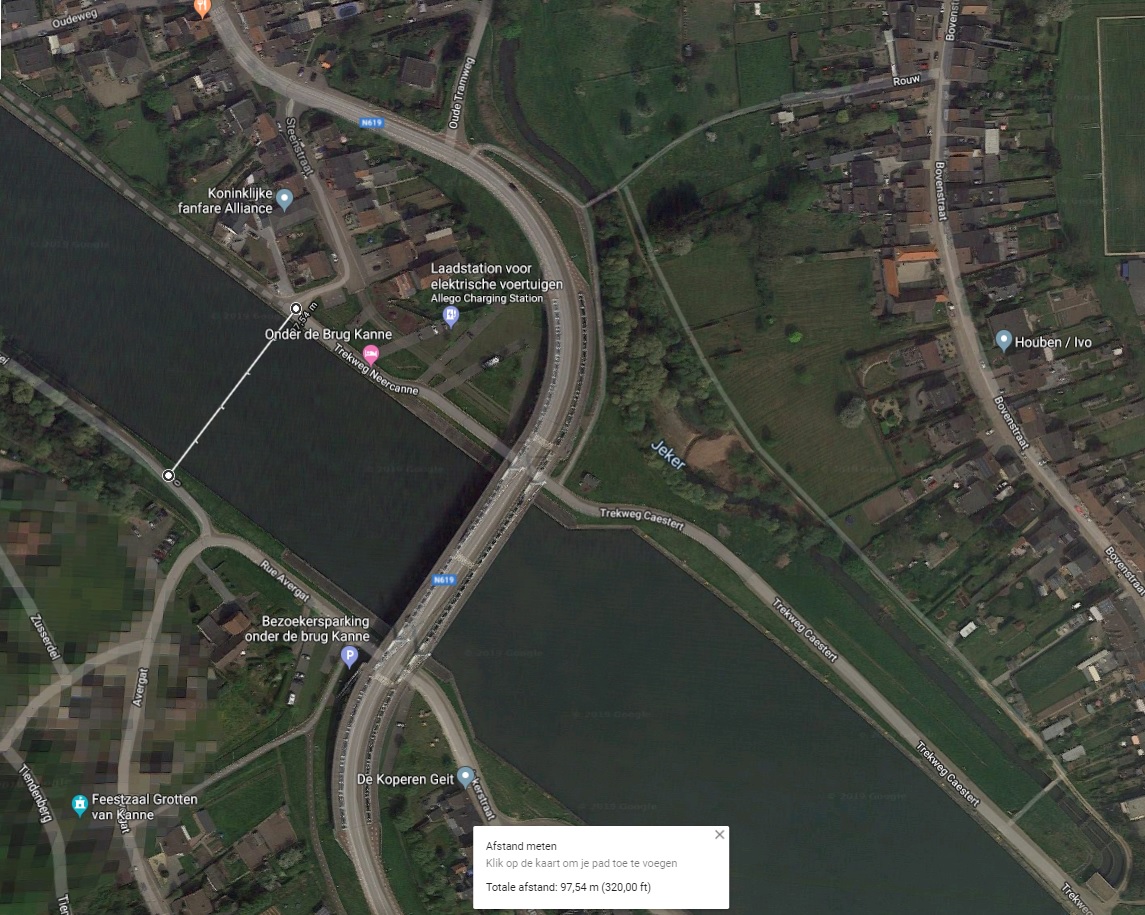
Albert Canal near Canne, Belgium
Length:
135 foot
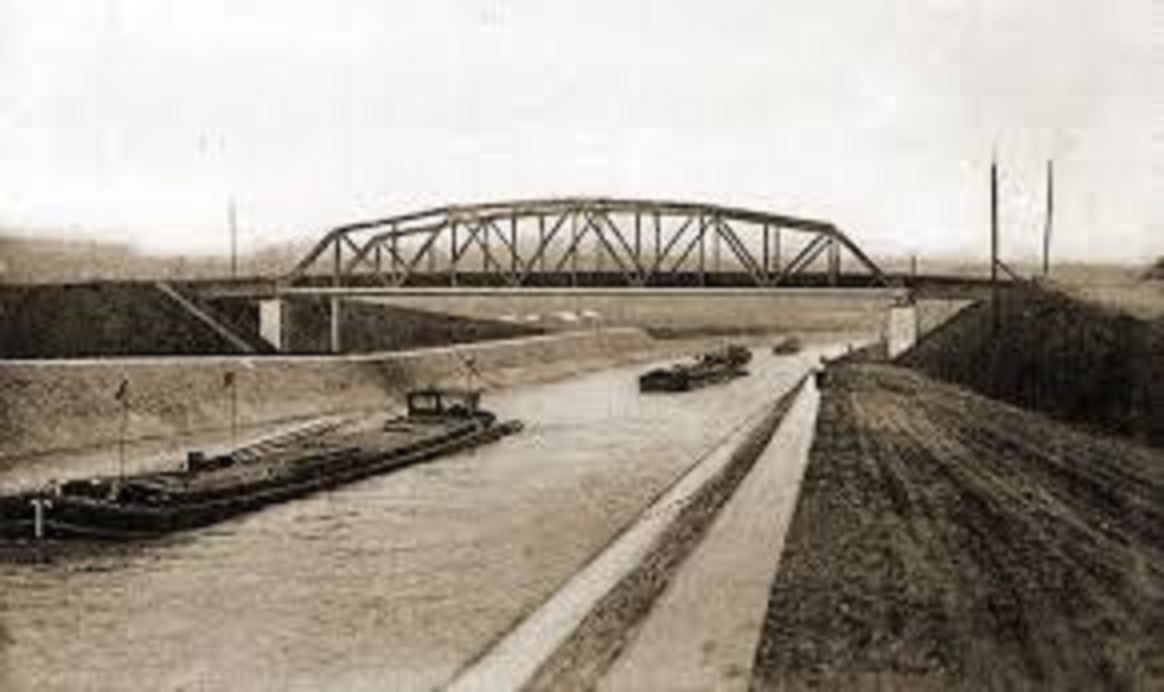
The orignal steel bridge blown up by the Belgium Army, may 10th 1940
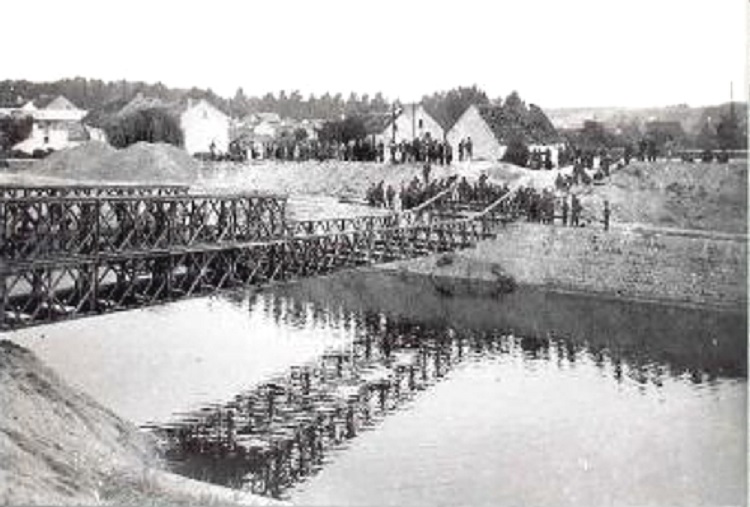
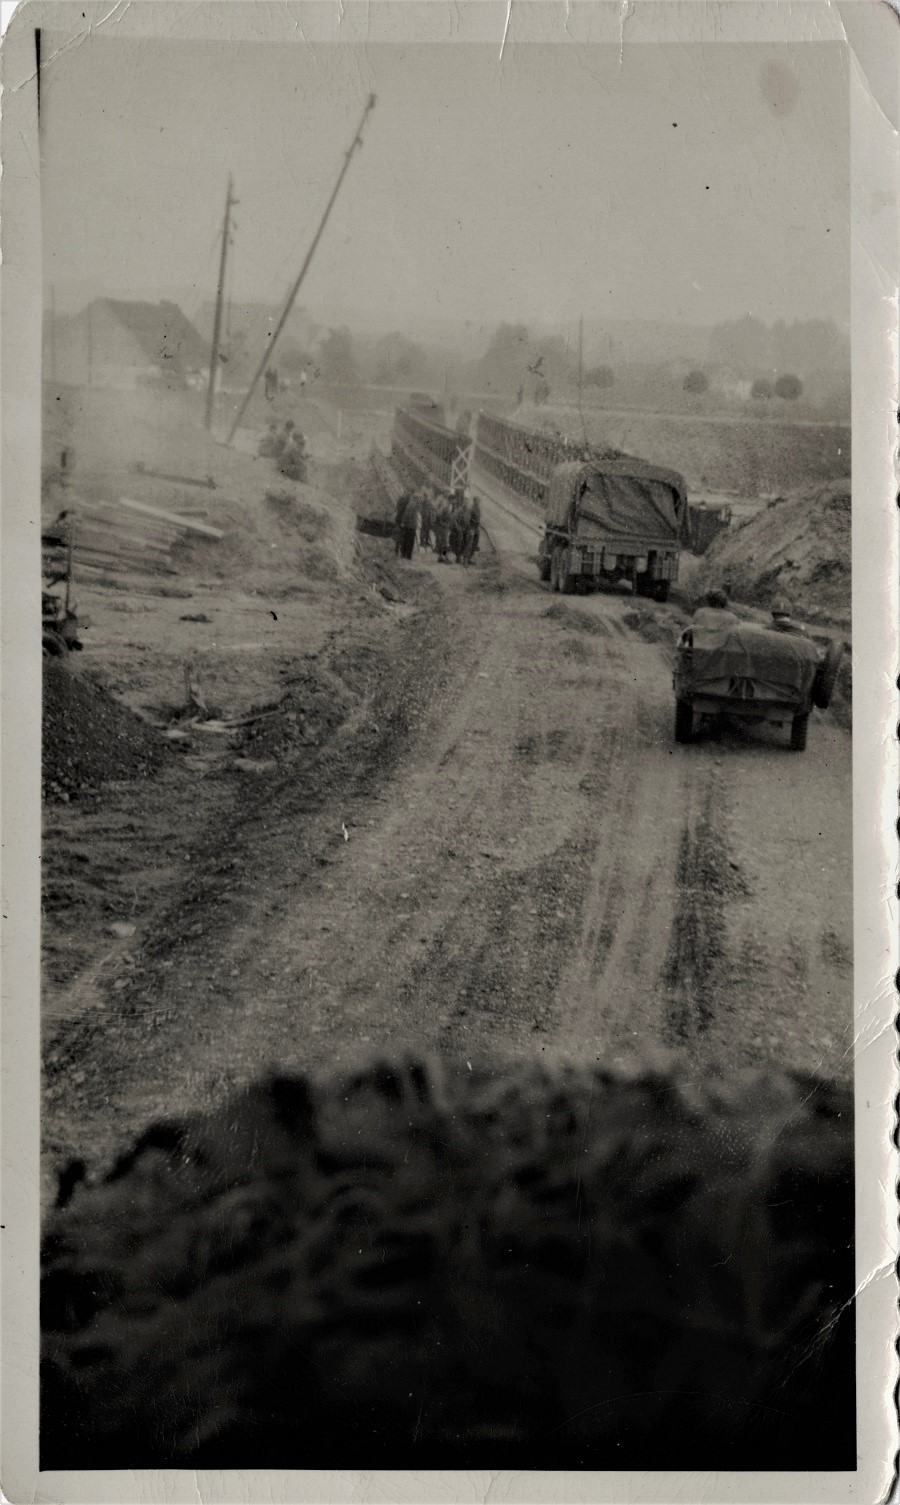
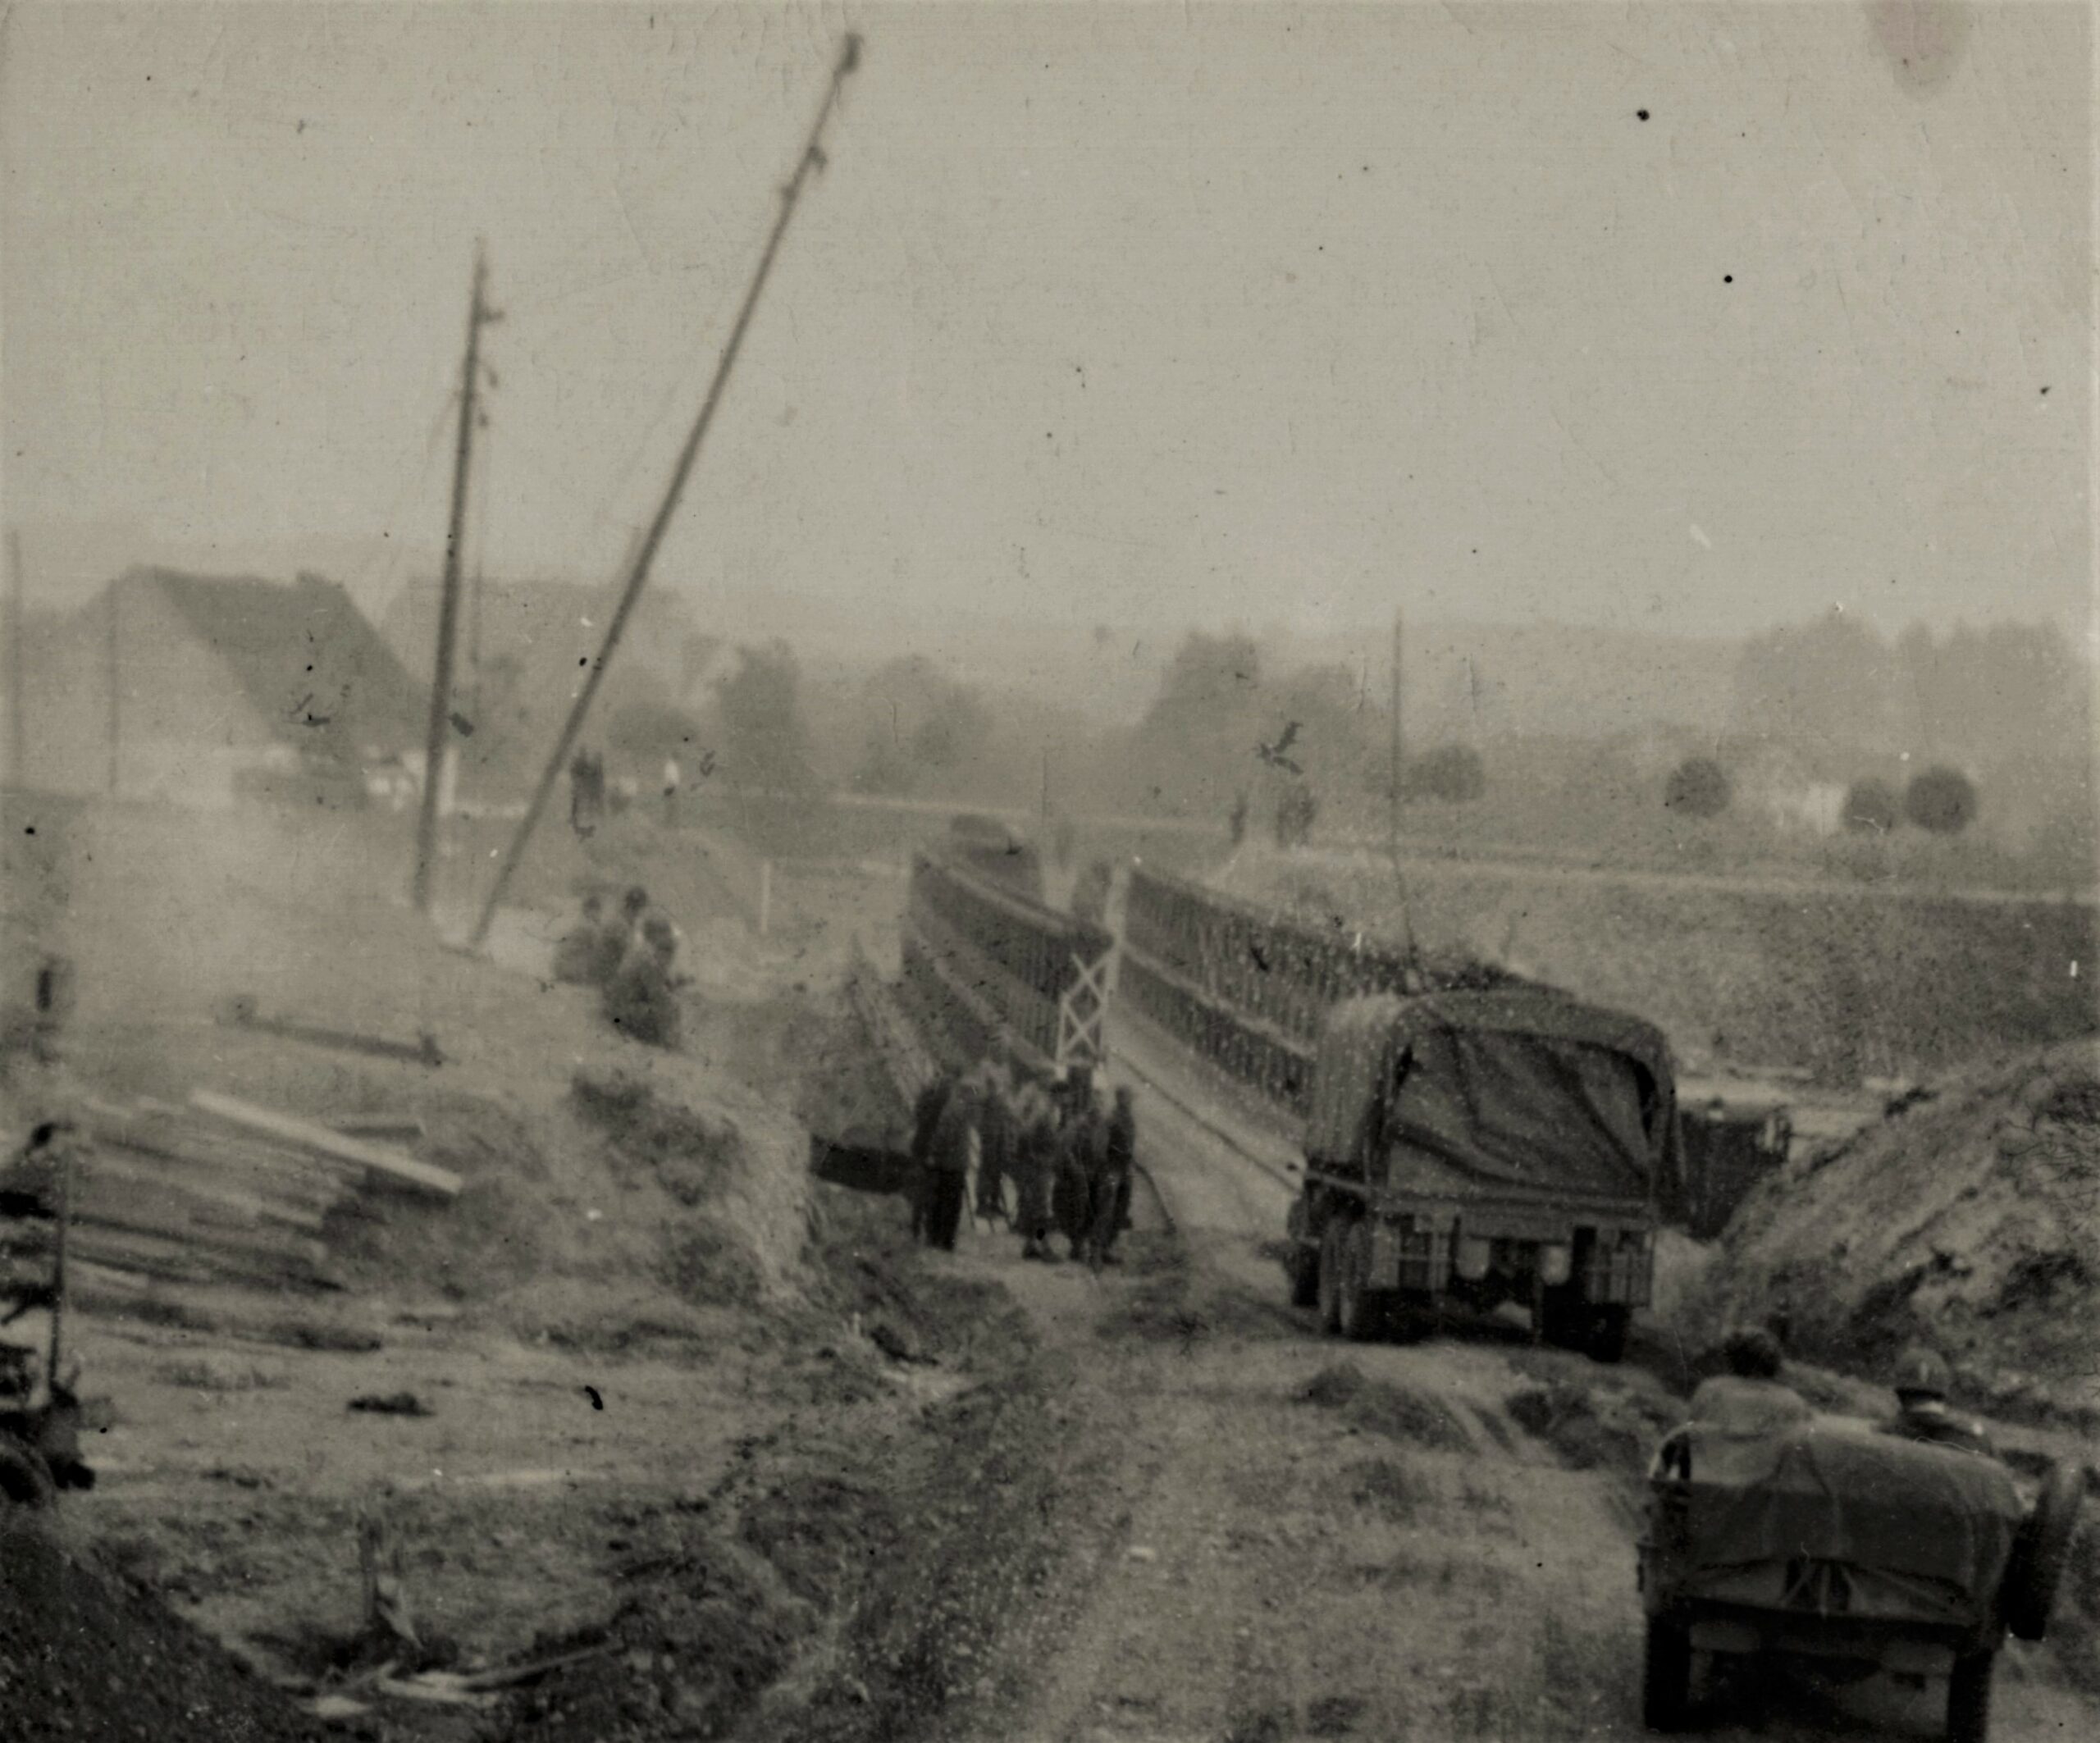
Starting of the building of the first Bailey bridge
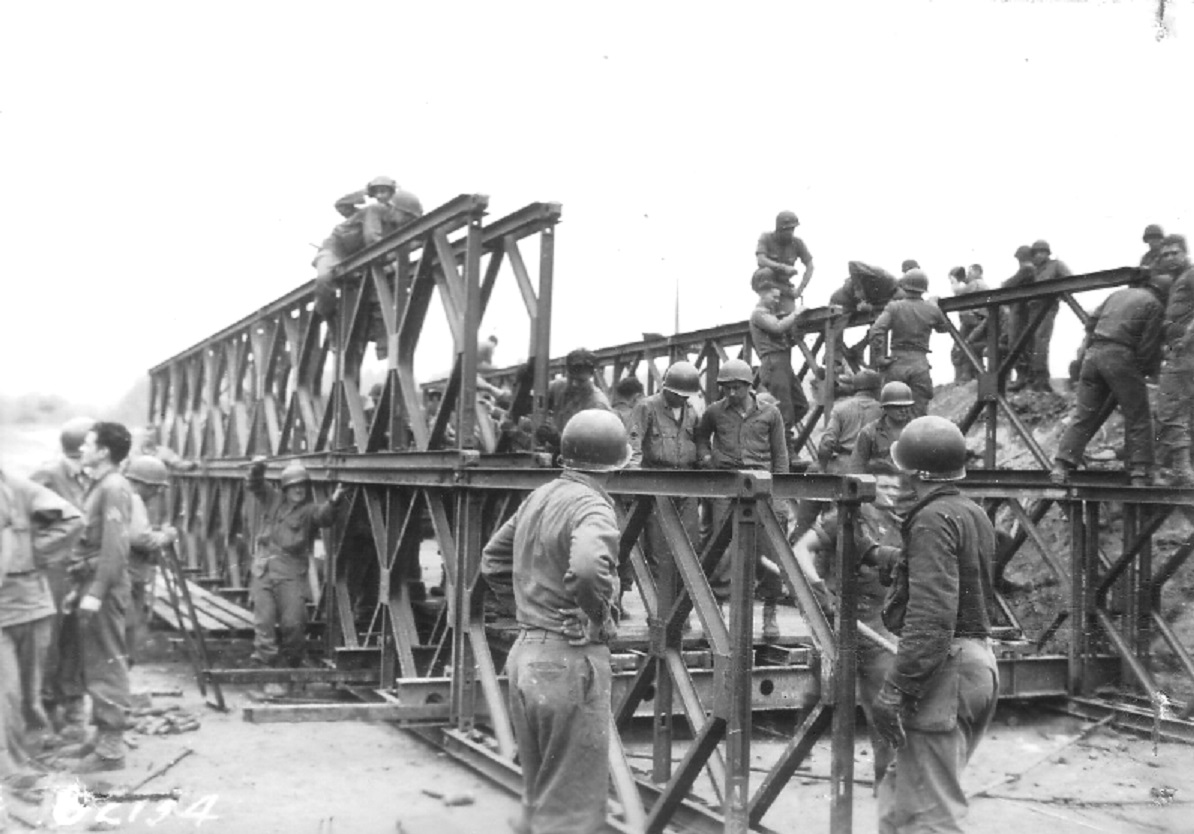
Nearly reaching the opposite bank across the Albert Canal
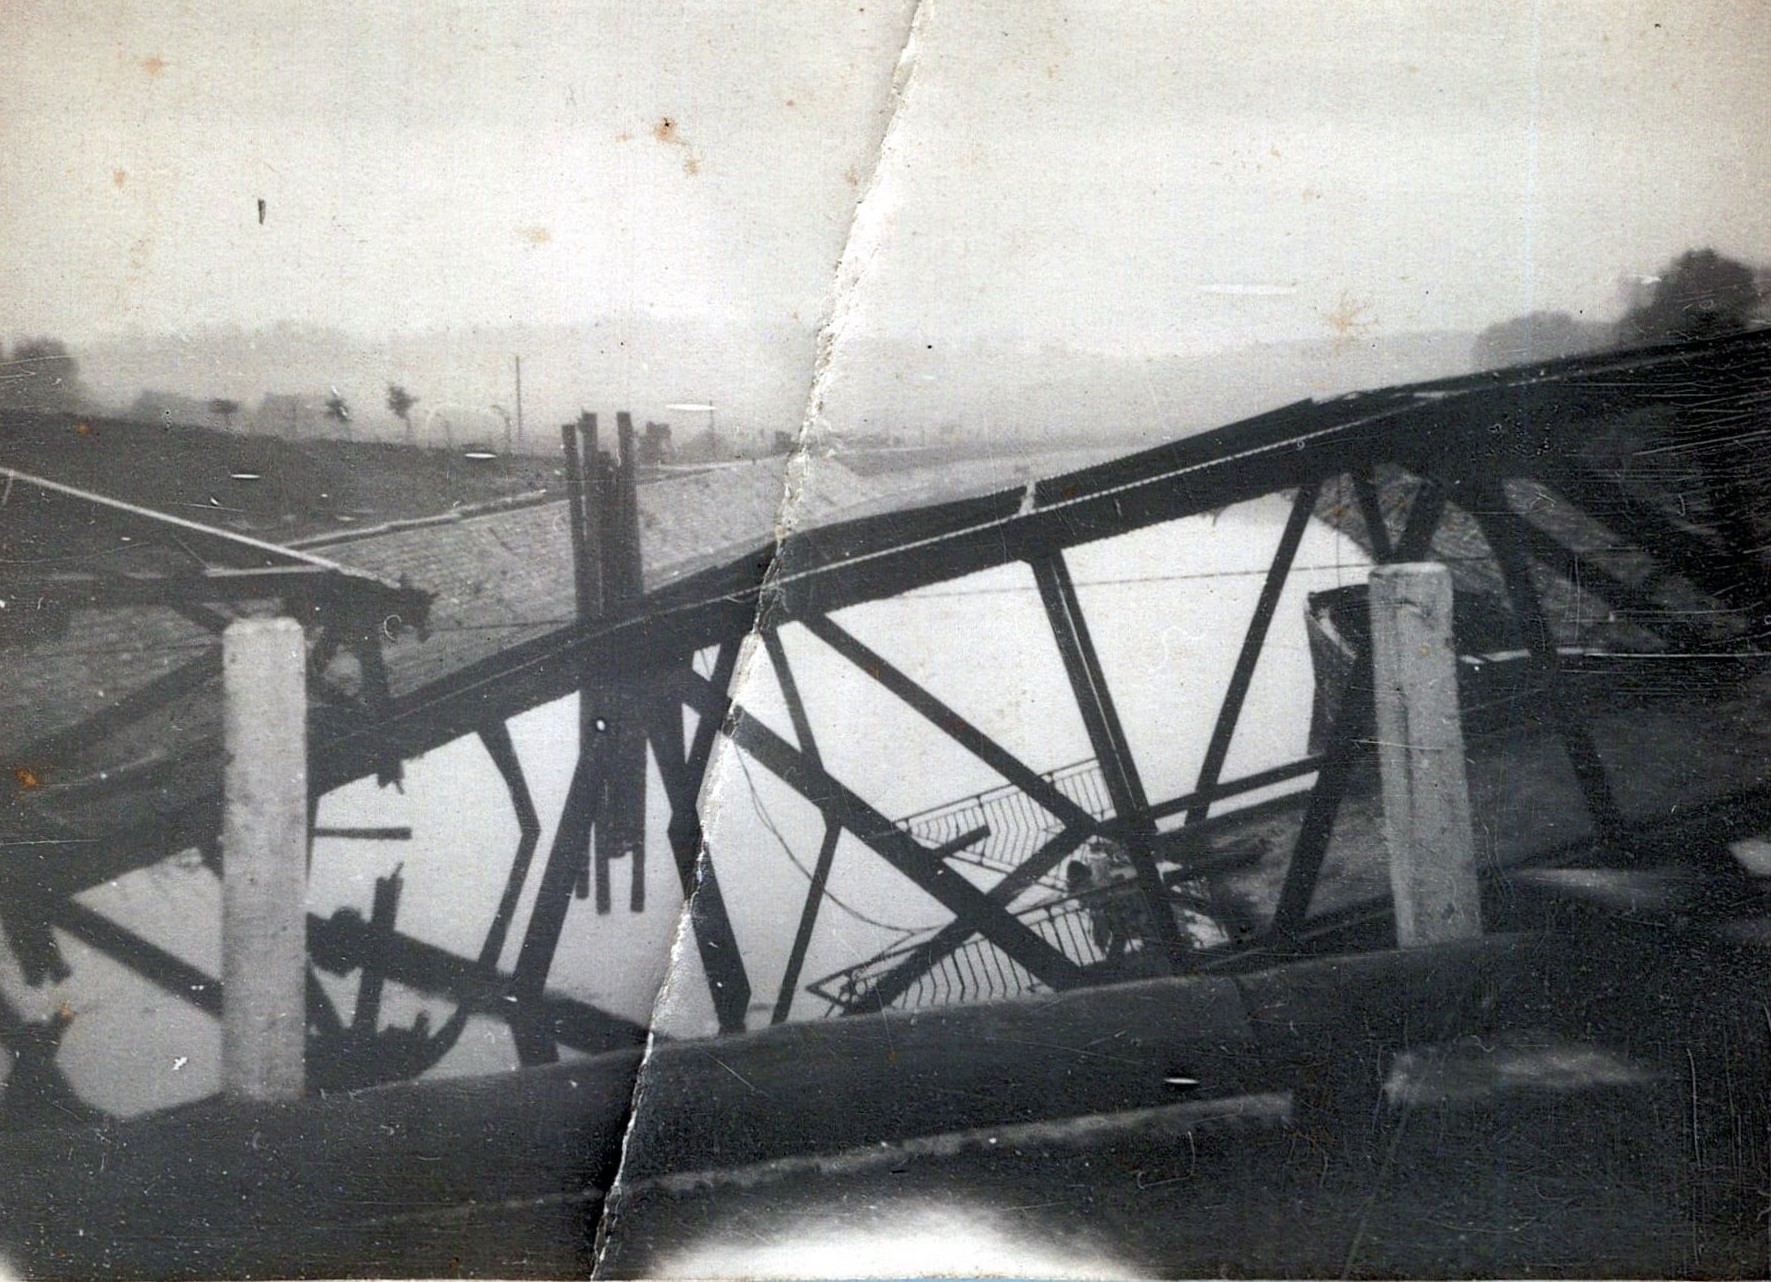
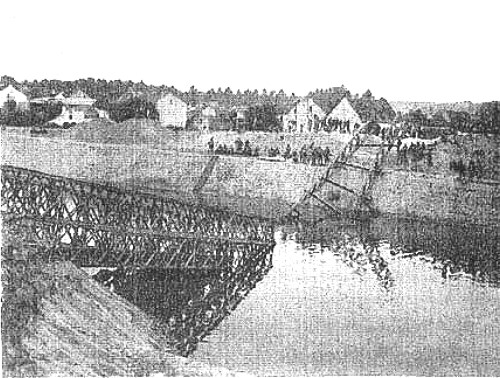
The Bailey bridge collapsed by due to buckling of third section of the launching arm after contact with far abutment and load came on this member
The Dutch had managed to send two ships through the German lines one eventually used to support the Bailey bridge
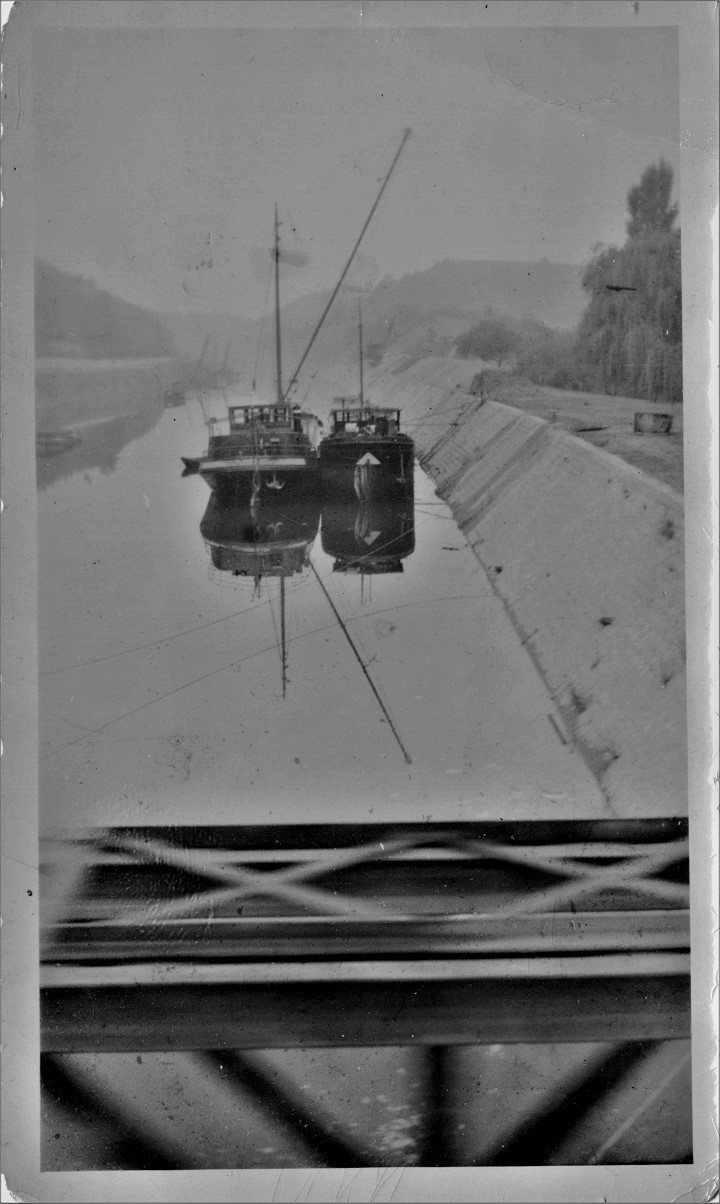
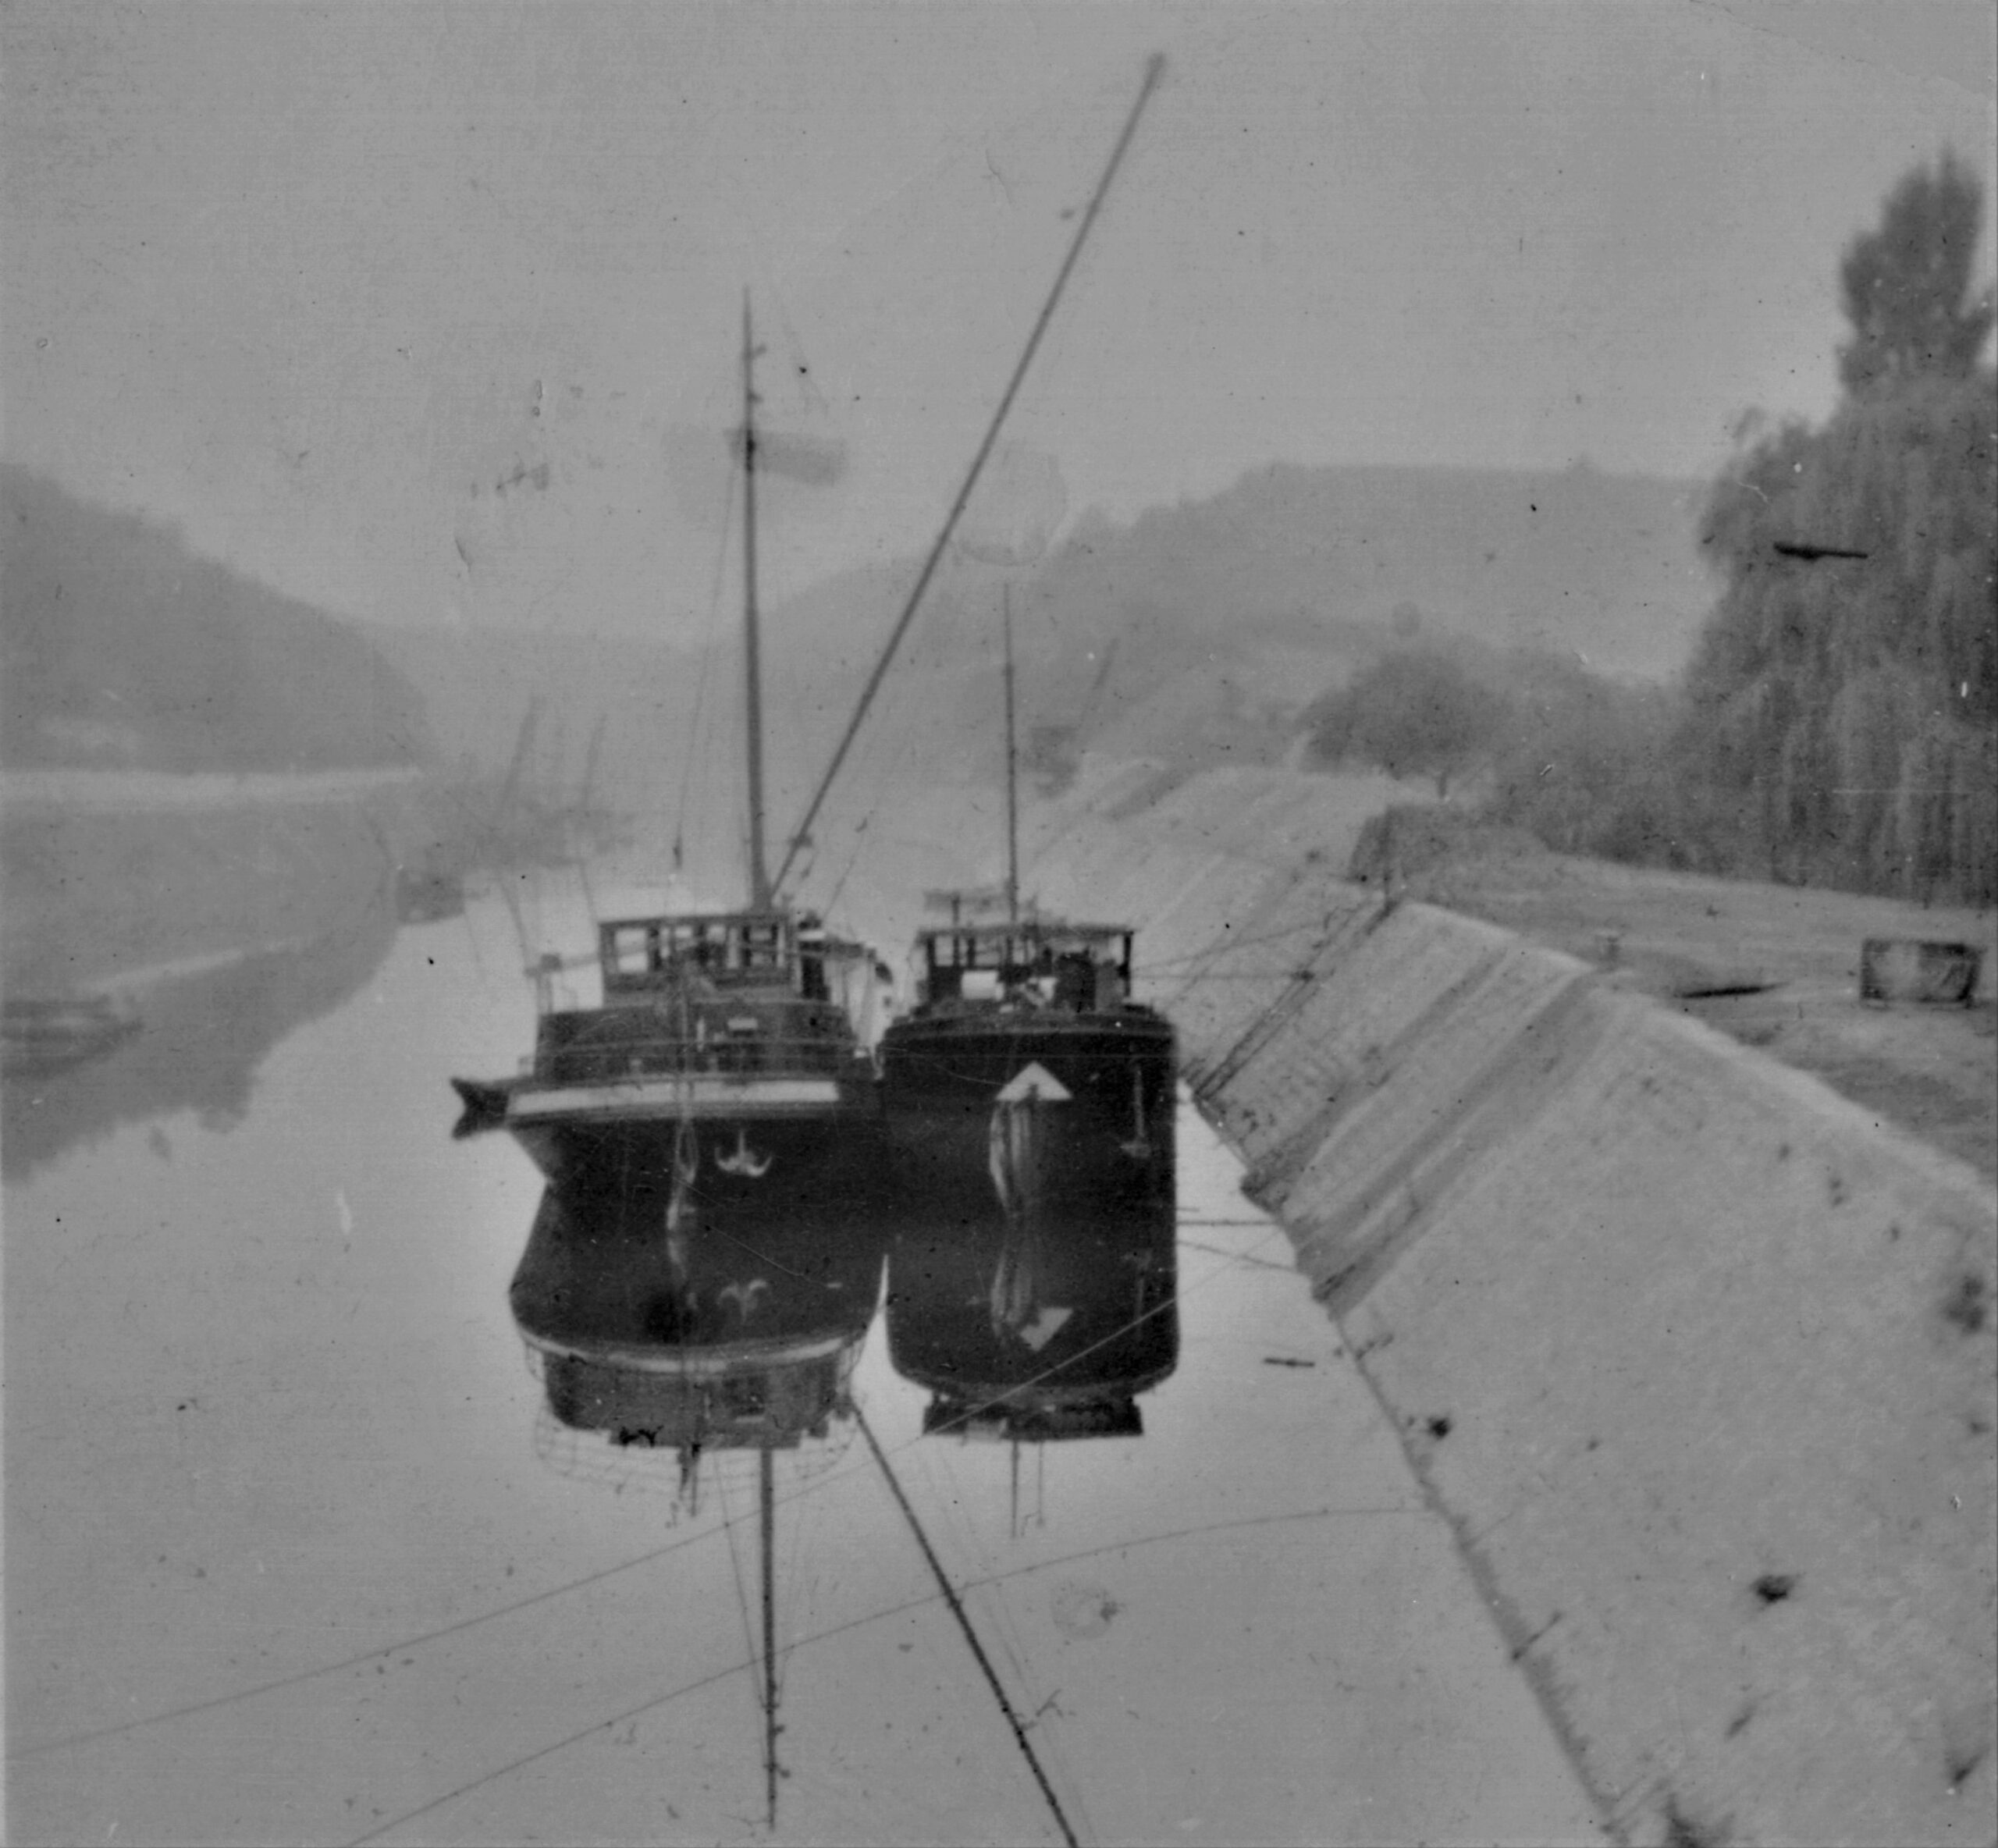
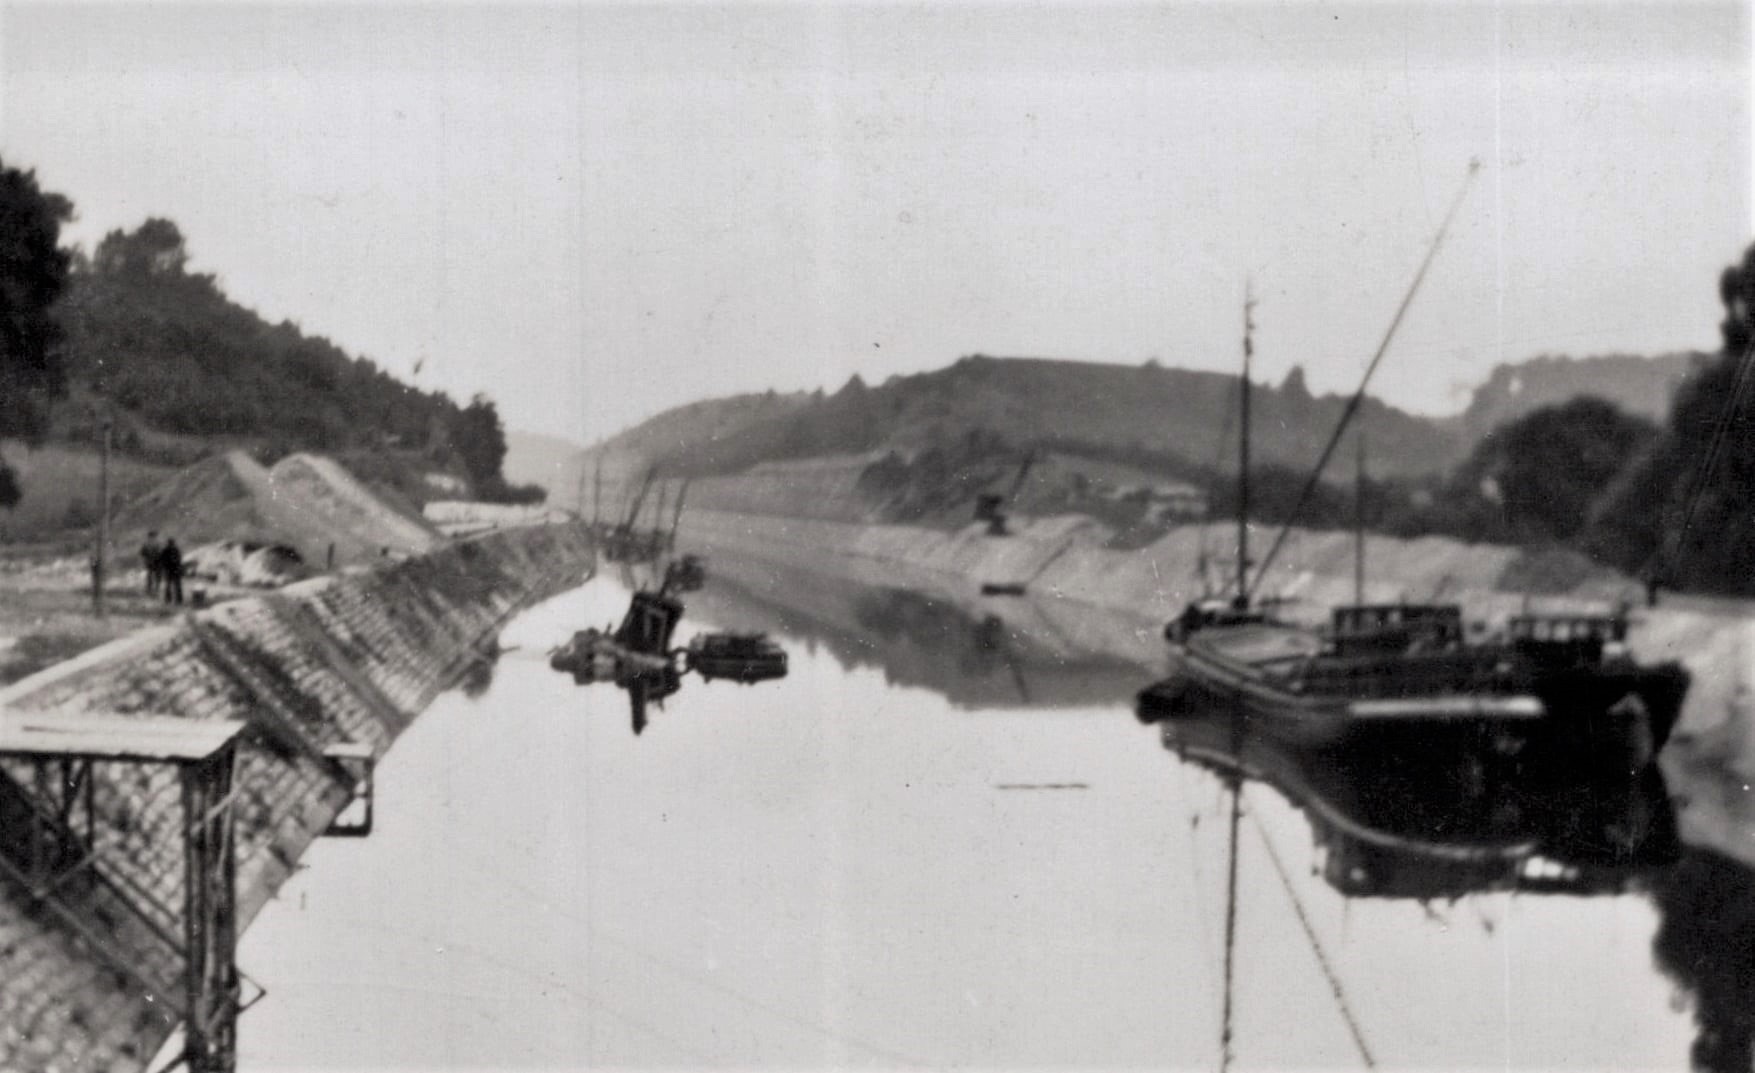
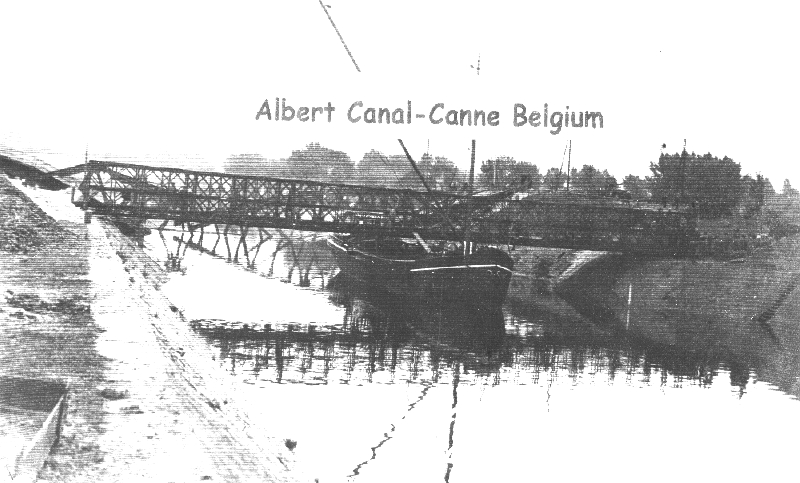
The finished rebuilt Double Double Bailey brigde, with a Dutch Barge as “support” but without any function. It gave the much needed thrust hence the name “the Psychological Bridge”
Information from the: Unit History 17th Armored Engineer Battalion
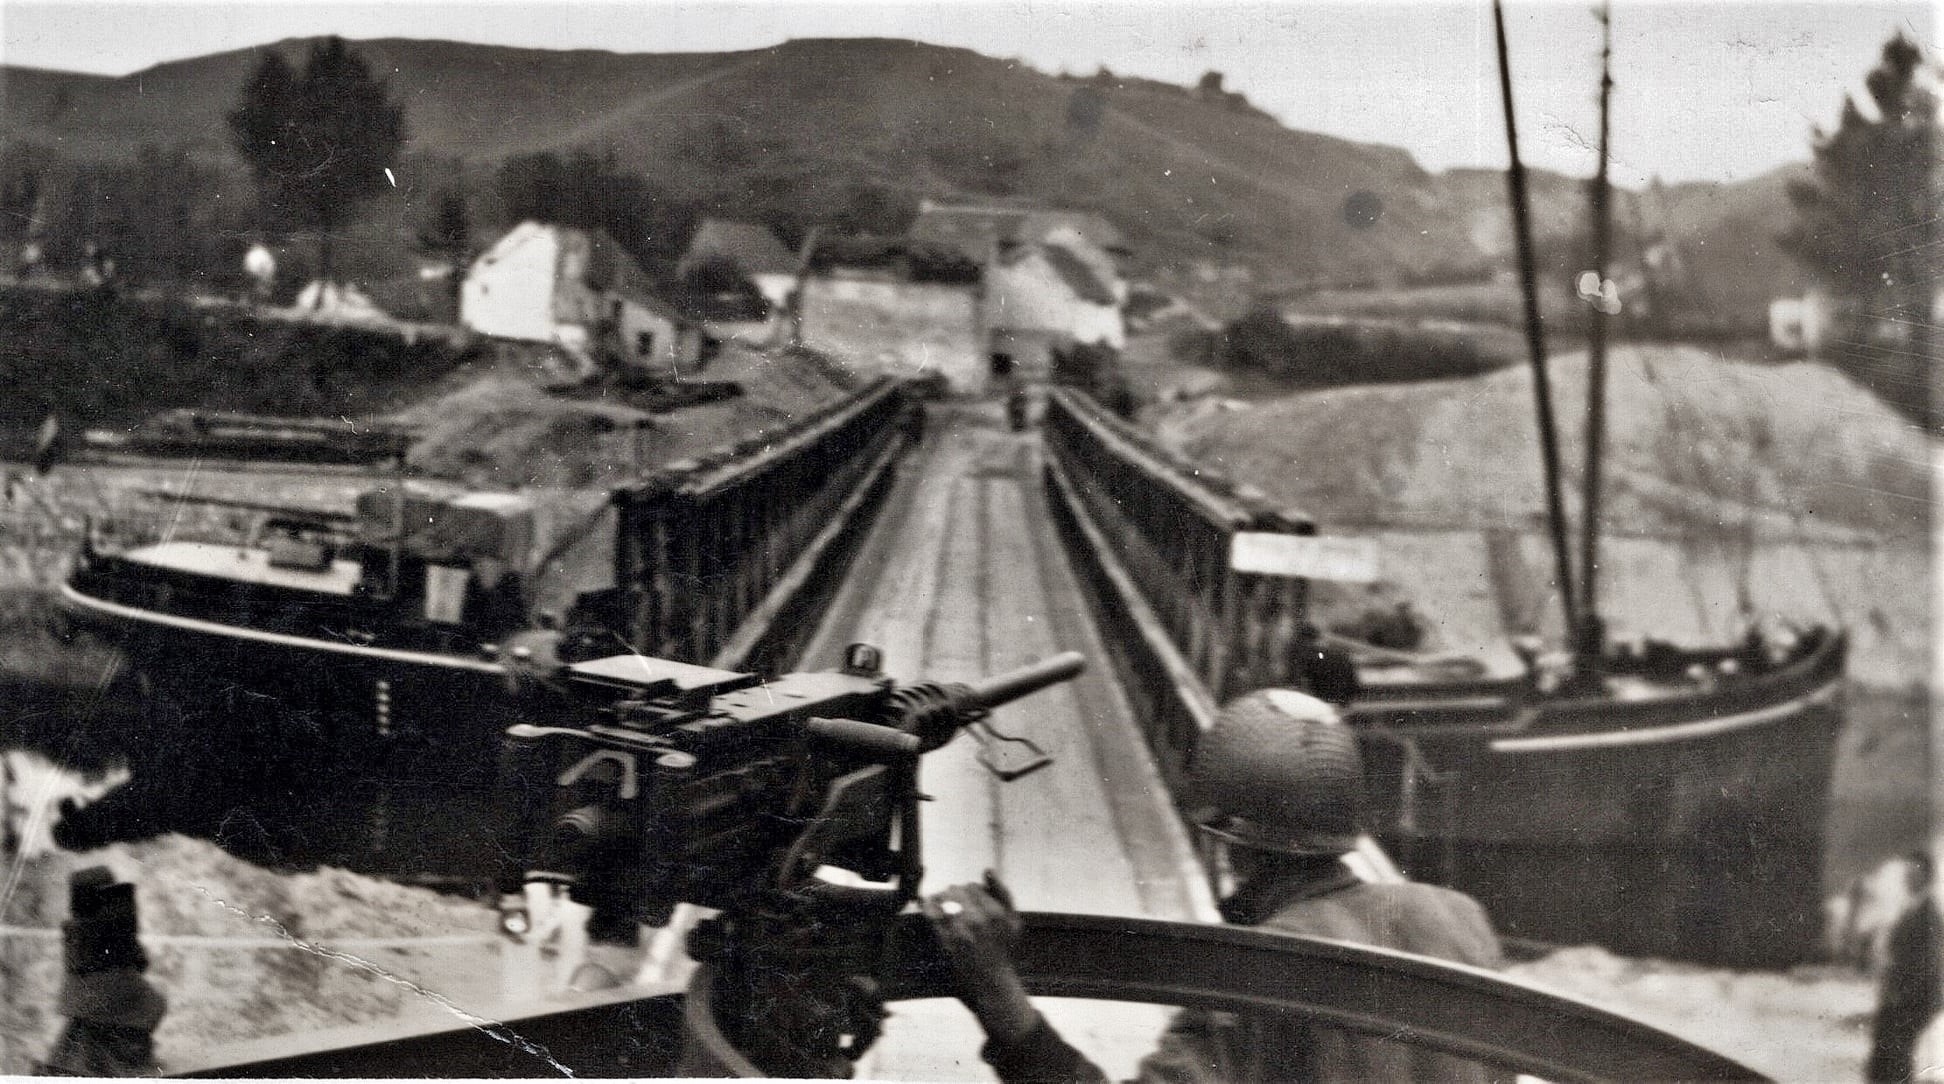
The next day, at Canne where a DD Bailey Bridge had collapsed during construction, the same units combined to erect a 135 foot treadway over the Albert Canal. (They came short 2 pontoons and the bridge never was used)
Information from: datab.us
As part of aftermath of the Battle of Fort Eben-Emael, the 17th and 82nd Armored Engineer Battalion work build a Bailey bridge across the Albert Canal at the village of Kanne. The first try failed as the bridge fell into the canal. On 15 September 1944 with the help of a boat for support the bridge was completed. Albert canal functioned as a defense line for the retreating enemy.
Information from: xixcorps.nl
Meanwhile the 82nd Engineer Combat Battalion had been assigned the task of building a Bailey across the canal to the island. The enemy was firmly entrenched on the far shore and it was necessary to send infantry across before beginning construction. The infantry quickly reduced opposition and a 140′ DD Bailey was constructed. However, in launching the bridge one section collapsed and dropped the entire structure into the canal. Necessary equipment for salvaging the bridge was immediately ordered; the damaged sections “burned” off at the water’s edge and the remainder of the bridge hauled back to the near shore where reconstruction was begun. The bridge was successfully launched and traffic started over on the night of 15 September.
The Dutch had managed to send two barges through the German lines and because of the failure of the first bridge one of these barges was placed and anchored beneath the Bailey in the center of the span. The barge was not directly supporting the bridge but was there in case of excessive deflection. The bridge was commonly called the “Psychological Bridge.”
Because of the delay due to the collapse of the Bailey, a treadwaywas quickly thrown across the canal in the same vicinity and was completed by early morning of 15 September. Operations were able to proceed according plan.
Success in this enterprise was achieved through a combination of daring, good fortune and aggressiveness surprising to the German defenders. An infantry patrol less than a platoon size, crossed the Albert Canal east of Fort Eben Emael in assault boats without opposition and reached the locks at the head of the Willems Canal unseen. (3) They had just set up their machine guns when some thirty Germans came boldly down the road from the north. This narrow road was closely flanked by cliffs on the left and the canal on the right. There was no change for the German troops. They were annihilated. Judging by equipment carried, this was evidently a demolition party sent to demolish the locks. Had they American platoon been five minutes later the story would have been reversed.
2nd Information from: xixcorps.nl
Although it appears impossible on the map, and seemed more so on the ground, these men did scale the cliffs opposite Fort Eben Emael and a to hold was established across the canal. Our troops in the Fort gave support by firing across the canal. More troops followed and pushed to the north eventually clearing a bridge head at Canne. The first phase of this crossing was achieved.
Unexpected good luck so far was now counteracted viciously by bad luck in the next phase. Due to the steep canal banks it was decided to construct a Bailey bridge at Canne, a 140 foot double double bridge. Although casualties were taken on the job construction moved along rapidly until the launching nose was firmly on the far bank. Then the bridge suddenly collapsed. Later detailed inspection revealed that the cause was due to a faulty steel section in the launching nose previously damaged by shell fire. The bridge was constructed precisely according to the book, it was the only one know to fail in the entire campaign, no one was to blame, but the hard facts remained; the bridge had failed and the Engineers were on the spot. This sudden unexpected problem had to be solved at once. The road approached the canal on a fill and no other site for a Bailey bridge was possible. The entire bridge had to be removed, a much harder job than the original erection, and rebuilt on the same site. The Corps Engineer’s decisions on the spot were two. First, to start immediately to remove and then rebuild the Bailey bridge. This bridge would be required eventually and if no more rapid solution developed at least something was progressing toward a solution. News of the Bailey failure spread throughout the Corps. The safety of all bridges was suddenly questioned. To meet this situation it was decided to anchor a nearby Dutch barge in mid-stream under the bridge and crib up to within four inches of the Bailey truss to make the bridge look very safe. But to go back, the second decision of the Corps Engineer was to start at once a treadway bridge nearby at a rather poor site. At the moment this looked impossible due to lack of treadway bridge material but it was started nevertheless. Bulldozers were started on approach work and messages were sent to Hermalle-sous-Argenteau for every available hit of bridge material. Due to favorable conditions there the bridge reserve was out to zero and all available bridge material was sent – but is lacked two sections of being enough – and hence there was no bridge. But many things were happening concurrently.
The reconstructed Bailey bridge was soon completed, exactly as before except that the barge floated underneath. The cribbing on the barge never touched the bridge but it looked so safe no questions were ever asked and confidence in Bailey bridges was restored. The Engineers called this their ‘psychological’ bridge. The Armor now had two open roads across the “island”.
There remained just one Engineer job to do in Maastricht, a large Bailey Bridge for more permant use. The one erected consisted of one triple triple 190 foot span, two 110 foot triple single spans and one 40 foot single single span. (9) This bridge remained in use for months as did the ‘psychological’ bridge at Canne.
First Bailey Bridge at Canne Was a 140 foot double double Bailey bridge shown here during launching. Failure occurred due to buckling of third section of the launching arm after contact with far abutment and load came on this member. After collapse this bridge had to be entirely removed and rebuilt at the same site.
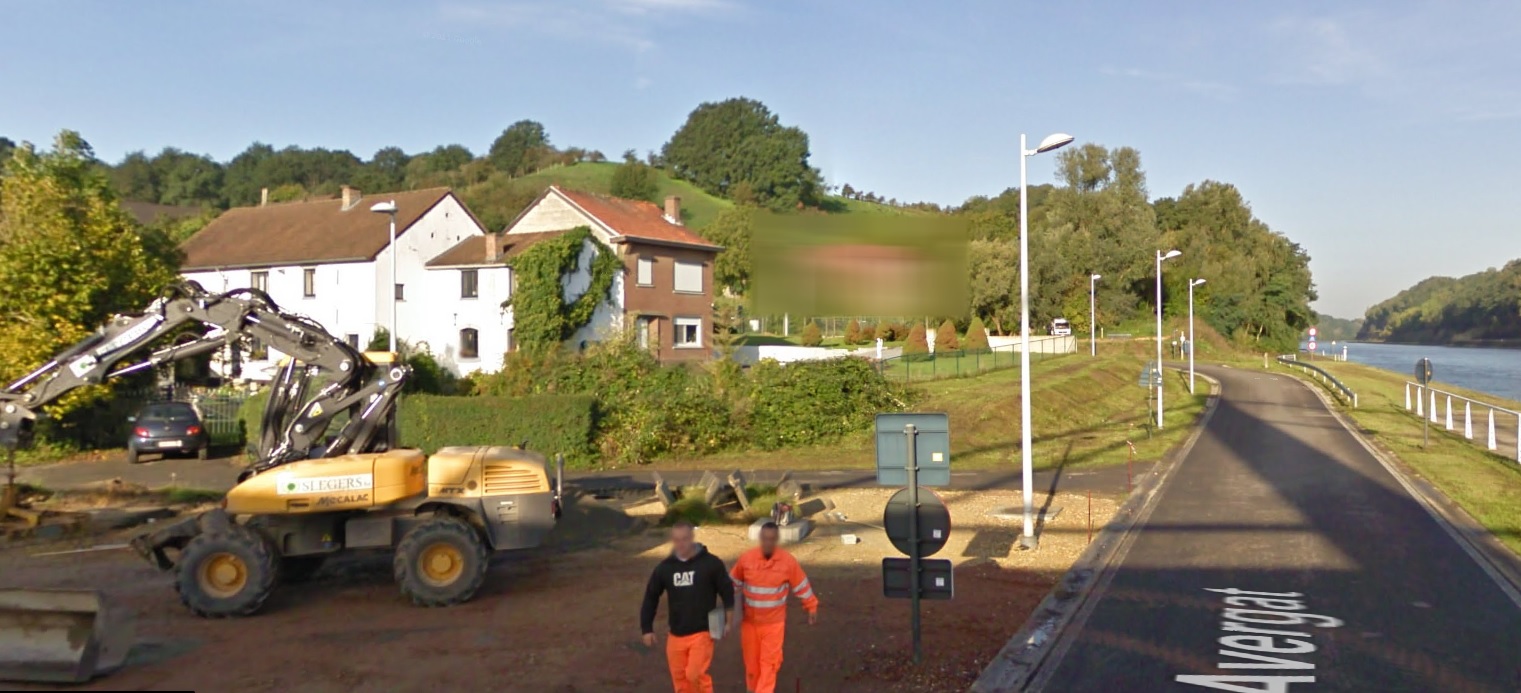
Current location:
Next phase: In rest areas january/ february 1945
Research: M. Brandjes 2020 updated 06-2021